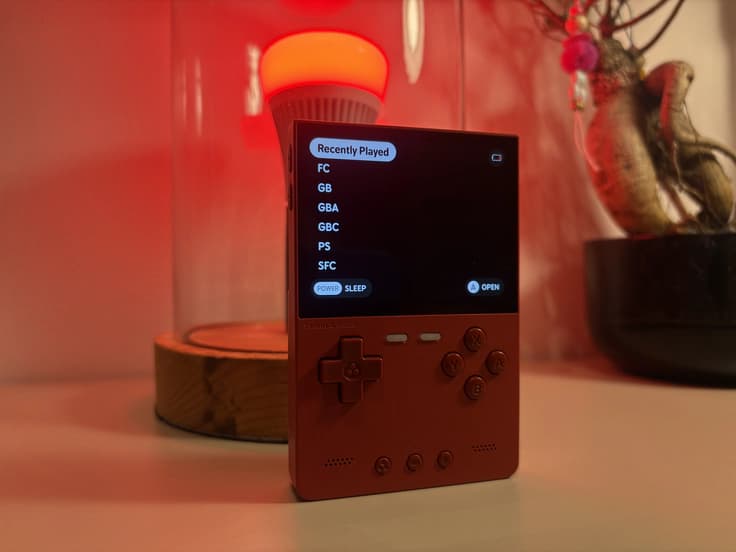
MinUI: a minimalist retro-gaming launcher
MinUI is a minimalist user interface and libretro frontend for retro handhelds. The interface is simple, functional and stylish, with a premium feel. Behind the clean design is a broad set of features for a fast and pleasant retro-gaming experience.
MinUI on the TrimUI Brick
MinUI suits the TrimUI Brick well. The clean interface matches the premium hardware experience and makes it easy to start a game quickly.
Key features
Clear file view: hidden files and unwanted extensions are automatically hidden.
Quick access while playing: through a consistent in-emulator menu you can manage save states and disc switching, among other things.
Smart power management: the system goes into sleep mode after 30 seconds of inactivity and shuts down completely after two minutes.
Automatic resume: after restarting, you can carry on straight where you left off.
Flexible storage: the same SD card can be used on multiple supported devices from different manufacturers.
Save states from the launcher: press X in the launcher to load manually created save states directly.
Compatible devices
This installation guide was written for the TrimUI Brick, but it also works with among others:
Anbernic RG28XX, RG34XX, RG35XX, RG35XX Plus, RG35XX H, RG35XX SP, RG40XX H, RG40XX V and RG CubeXX
GKD Pixel
M17
MagicX XU Mini M and MagicX Mini Zero 28
Miyoo A30, Miyoo Flip, Miyoo Mini and Miyoo Mini Plus
Powkiddy RGB30
TrimUI Smart and TrimUI Smart Pro
Installation
1. Download the required files
Go to the official MinUI releases on GitHub and download:
MinUI base .zip
MinUI extras .zip
2. Prepare the files
Unpack both zip files and create a new folder for your device. For the TrimUI Brick, you can name this folder, for example, minui-for-trimui-brick.
From the base folder, copy the following folders and files into this new folder:
BiosRomsSavesTrimUIREADME.txtem_ui.shMinUI.zip
Then copy everything from the extras folder into the same folder and overwrite files when prompted.
3. Format the SD card
Format the SD card on your computer as FAT32 and name the card MinUI.
On macOS, you can do this via Finder. On Windows, you can use Disk Management for this. Back up any files that are still on the SD card beforehand.
4. Copy MinUI to the SD card
Copy the contents of the folder minui-for-trimui-brick to the formatted SD card.
5. Install MinUI
Insert the SD card into your TrimUI Brick and start the device. Let the installation process run all the way through.
6. Add games
Place your own ROM backups or ROMs from legal, trustworthy sources in the relevant folders, for example SNES for Super Nintendo games. Move these folders to the folder Roms on the SD card.
You can also check games on itch.io for new and legal homebrew games.
7. Start your handheld
Put the SD card back into the TrimUI Brick and explore the clear MinUI interface.
Always make a backup before formatting an SD card or replacing system files.